If you use a fancy LaTeX editor like Lyx or Gummi, you can see a preview of the document you are editing in real time. This is important for LaTeX since the output looks so different than the source.
I prefer to use more general text editors, like Vim. Vim doesn’t have any built in support for previewing LaTeX documents, but it is still very simple to set up the automatic generation of the PDF output using Vim.
Step 1: Formulating the Command
The first thing to do is to simply generate the PDF file you want on the command
line, as you normally would. There are a few commands to choose from. You could
use the original latex command, but it only generates
DVI files that
must be further processed into PDFs, so it isn’t very useful here. The solution
is to use pdflatex, which, as the name indicates, generates PDF files. If you
need extra features such as Unicode support, you will need to use a newer latex
engine such as xelatex or lualatex.
Now that you know what command you are using, you can generate a PDF file from the command line.
$ lualatex mylatexfile.tex
Step 2: Process the File Automatically with Vim
You can run your command from inside Vim by typing:
:!lualatex mylatexfile.tex
Next, you need a PDF file to be generated automatically every time you make a change to the file so you can see your changes as you edit. You could do something fancy and watch the source file for changes with an external program (if you want to do that, you might want to look at Grunt). Fortunately, Vim provides a much simpler way of doing it: autocmd.
You can read Vim’s online documentation about the autocmd command by typing
:help autocmd in Vim.
The basic usage of autocmd requires three arguments: the event, the file pattern, and the command to run. The event is the trickiest to choose because there are so many events in Vim. In this case, however, we want BufWritePost, an event that fires after the current buffer is written to disk. This is a good choice because your latex command will only generate an up-to-date version of the document if the source file has been saved first. Next, the file pattern should be *.tex. This will match any file that ends with the .tex extension. Now the command will execute on LaTeX files, but nothing else. The last thing to do is fill in your command, which we composed earlier: !lualatex mylatexfile.tex.
First, however, we need to change it slightly to be more suitable for an autocmd. LaTeX generates a lot of command line output, and it shows up in Vim whenever you run the command. This gets really annoying if you additionally run the command automatically every time you save the file. To suppress the output, use silent! before the LaTeX command. You are probably going to be editing files other than mylatexfile.tex, so it would be a good idea to use something more generic. Vim allows you to run the command on whatever the current file is by replacing the file name with the percent symbol.
Your complete Vim command, which will generate a PDF file every time you save a LaTeX document, should look like this:
:audocmd BufWritePost *.tex silent! !lualatex '%'
Step 3: Viewing the PDF File
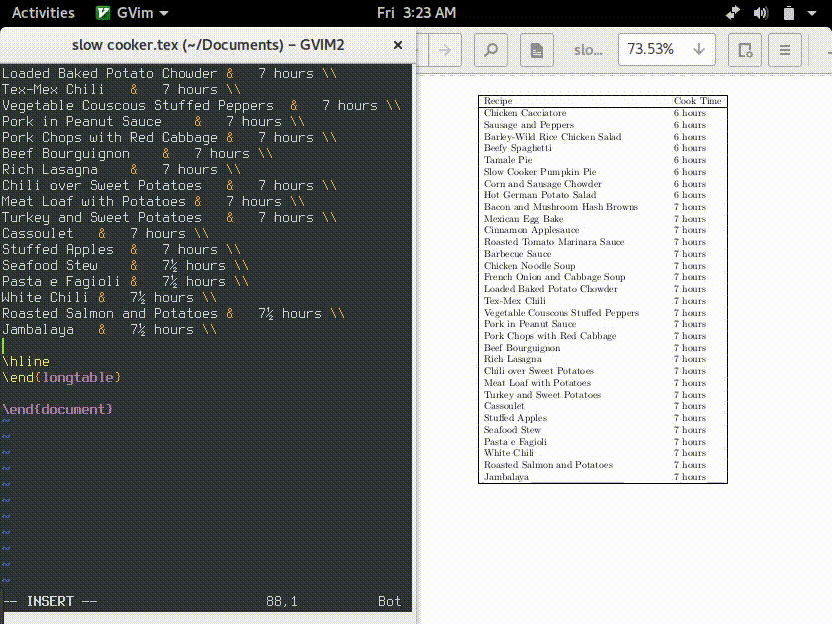
The last part is easy. You need to open the PDF file and keep it open in a window next to your editor so you can actually see the changes in the PDF output.
You need to use a PDF view that automatically reloads the document whenever there is a change to the file. I use Gnome’s Evince, which has this feature. KDE’s Okular and Sumatra PDF for Windows also autoload files. It doesn’t look like Adobe Acrobat or Foxit Reader work.
Once you’re using a good PDF viewer, all you have to do is open the PDF file and start editing.